Ideally, you would want to record your music in an optimal audio environment, like in our soundproofed isolation booths and live rooms. We understand that recording at home isn’t always ideal for a number of reasons, including noise and distractions. Still, there is plenty that you can do at home to capture a great quality sound. In this post, we will share some great tips and budget-friendly creative hacks you can do to get some great recordings.
It’s All About the Space
But your bedroom could totally work
By this point, you’ve hopefully purchased a great microphone and audio interface and are ready to record. If not, check out our recommended starter gear in Part 1. Now you need the right space to let your creativity soar. The holy trinity of what you should be looking for is somewhere that is quiet, free from distractions, and makes you feel comfortable enough to really belt out those high notes. You don’t need much to make it work!
Now take a look around that space. Does it have lots of pretty pictures? Nice shiny paint? Posters upon posters of musical memorabilia? It may surprise you, but all those flat surfaces and corners are not the best for your sound and microphone. For this series, we want to create a space that is relatively dead (flat) and free from reverb (that washroom echo that makes you sing like Adele or Freddy Mercury).
Methods to Get Clean Sounding Audio
The MacGyver method
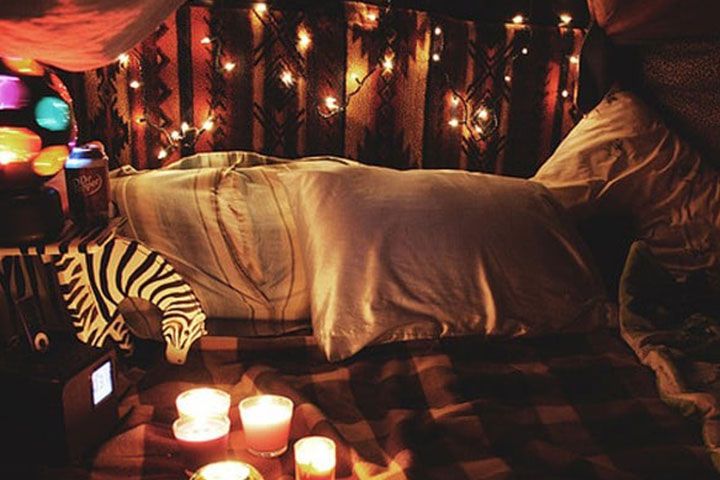
The ultimate DIY studio. Throw some blankets up on the walls, build a make-shift pillow fort, stuff a towel under your door, or even clear out space in your closet to sit in. Do whatever to deaden the sound and reduce any external noise. Heaters, fans, air conditioners and vents are also all unwelcome background noisemakers that you wouldn’t think could make much sound. But trust us, once you put on those headphones to listen back to your recording, those subtle noises are truly deafening.

All of the foam method
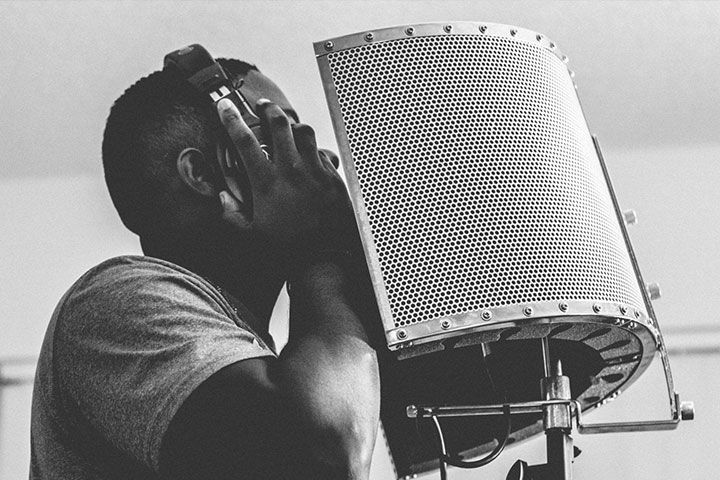
If you’ve got some extra funds in your budget, we recommend purchasing some sound foam. People think foam solves all problems, well it can, but it’s not for soundproofing, it’s for sound treatment. So if your crazy neighbours are going at it again next door, this magical foam won’t be able to block out all that noise bleeding into your space. Using an isolation shield can help to limit the amount of room or external noise being picked up by the microphone. Check out these sound shields:
- Monoprice Isolation Shield
- Neewer Microphone Isolation Shield

More foam or sound panels?
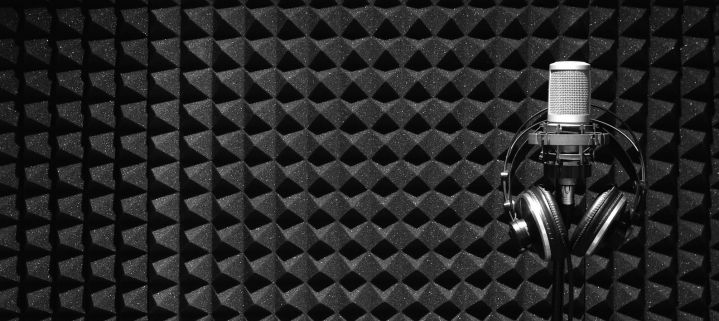
In addition to a sound shield, you might want to consider picking up a couple of pieces of foam squares or building some sound panels. Placing them around your room can help treat the room itself and help to capture a better sound. For most people, this will be the extent of what you’ll be able to do to treat the room, other than constructing thick heavy walls around you to block out external noise.

Microphone Placement
Recording vocals at home

If you are recording vocals, you want to stay at least a “Shaka”, “Hang Loose” from the microphone (6 inches away). This distance will be far enough to eliminate some of the ‘mouth noises’ we make – like those harsh ‘Ss’ or ‘Puh’ – but still close enough to ensure your vocals are being recorded properly. Hot tip: Speak directly at the microphone with your head level with the capsule; your forehead isn’t making any noise, your mouth is.
Recording instruments at home
When recording guitar or other acoustic instruments, place the microphone close to the sound hole. If you have a DI (direct input) for your instrument, that’s even better. To DI your instrument, like an acoustic or electric guitar, get an unbalanced 1/4 inch cable and plug it into your interface. There should be an instrument button on the interface, but consult your manual for correct use.
Getting The Right Levels
Levelling up your microphone
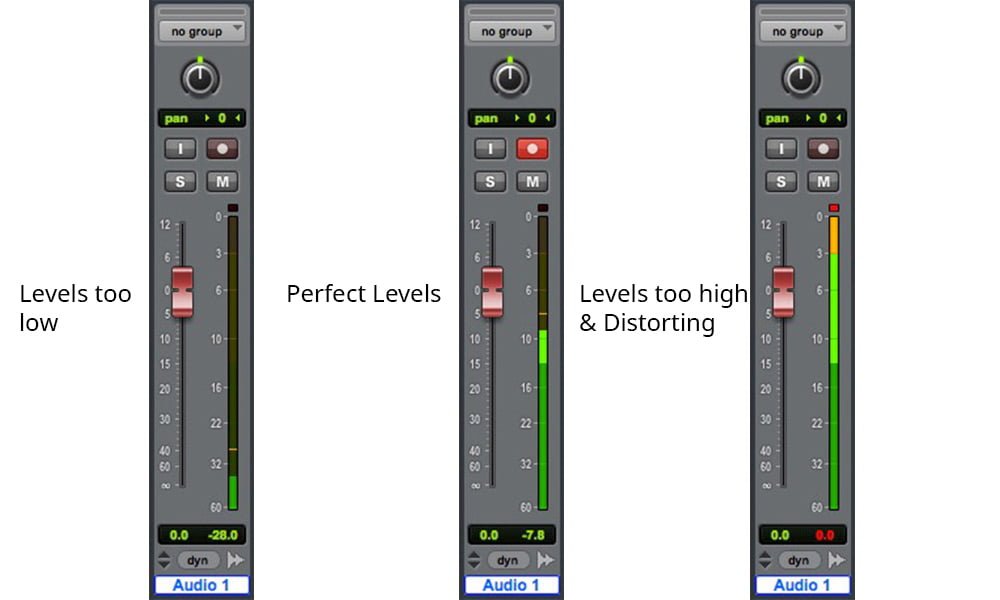
The loudest parts of the recording should peak at -10dB and be lowest at -24dB. This is to keep an even balance on the level of the vocals without distortion. You’ll know distortion is occurring when your signal visually turns red or you hear a crushing sound at the loudest parts of your recording.
Generally, to increase a sound signal coming from a microphone, you will want to provide gain. ‘Gain’ controls are typically used to get a good input level. So for example, if you had a microphone with a very low output signal, you would boost the gain to get a better level into your mixing desk or audio interface.
Remember, the more gain you use to increase your level the more outside noise and physical hardware noise you’ll be introducing to your recording. This is why it’s important to try and stay at a relatively close distance from the microphone.
So what’s a good level to record at?

What software should I use to record at home?
At our studio, we pretty much have all the major DAWs (Digital Audio Workstations), although we primarily work in Pro Tools and Logic Pro since these are the industry standards. However, at home, you can really record on whatever software gets the job done or you feel comfortable on. Here are some common DAWs to check out:
- Audacity (free and simple to use)
- Ableton Live
- FL Studios
- Pro Tools
- Garage Band (for Mac)
- Logic Pro (for Mac only, big brother to Garage Band)
What kind of computer should I use?
It’s 2020, so at this point, most modern computers can handle recording of a couple of audio files. Even our phones have apps for that! It’s really only when you start getting into some serious music production and mixing that you will require a higher-end computer. Just ensure that you have a lot of RAM and Storage Memory. And just in case, make sure that you are backing up your files often to an external drive. Here are some good computer options:
You Don’t Have to Record on Your Own
We get it, recording yourself may work for some of you, but there’s a lot to know and it can be frustrating to get the results you want. You don’t have to wear all the hats, nor are you expected to. The intent of this series is to get you started with the basic recording tools so that you can work on your music, get your ideas down, and have fun! Having a home studio is a great tool for many people, but for the vast majority of singers and musicians, it doesn’t replace coming to a professional space and getting to work with an experienced audio engineer. If you need more help getting set up at home and want some one-on-one time with a pro, check out our online guided tutorials.
We can help you record virtually
Interested in learning about how we can help record you virtually at your home from our studio? In Part 3 we will guide you through the steps to getting all set up and ready to go, so you can book your first remote recording session with us!